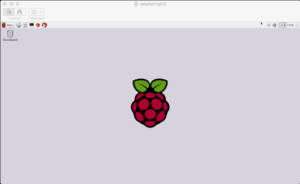
I wanted to share some experiences of getting VNC setup on my Raspberry Pi.
How hard could the experience be? A basic search on google and there are a ton of tutorials and examples to follow getting everything setup. Being a fan of adafruit I followed a detailed tutorial they had for setting up VNC which can be found here.
Initially it was working great till I noticed that I wasn’t accessing the current session. For most configurations I suspect this works fine but for my current project I want my VNC session to use the active session that I would see if I had a KVM (keyboard, video, mouse) plugged into my Pi.
Certainly I am not the first to notice or expect this. After trying different configurations and researching things further I discovered that the VNC tool used in all of the tutorials (tightvnc) doesn’t support access to the current session. Apparently in order to achieve this I would have to install and run X11VNC.
The following is the steps that I took to get everything setup:
Install X11VNC
Open a terminal session on your Raspberry Pi and run the following:
sudo apt-get update
sudo apt-get install X11VNC
When installing X11VNC it will want you to confirm the install so make sure to answer Yes to these questions. After it’s done installing you could run x11vnc but you’ll probably want it to work automatically after restarting your Pi.
Setting up X11VNC
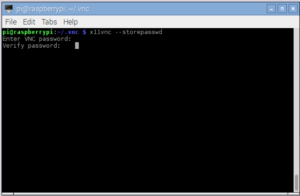
In your terminal session you will want to setup a password that can be used when connecting. To set this up you will want to do the following:
x11vnc --storepasswd
When you are done x11vnc should report back that the password was written at /home/pi/.vnc/passwd. For some assurances I checked the file because I didn’t like the idea of password being stored in plain text.
Next you’ll want to set everything up so that x11vnc is running whenever your pi is started. In your terminal session change to the config directory.
cd /home/pi/.config
There should already be an autostart directory but go ahead and run a list to see everything that exists in the directory.
ls
If you do not have an autostart directory then you will need to create one by using mkdir.
Go ahead and change to the autostart directory.
cd autostart
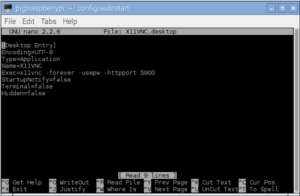
Next you’ll want to create an entry for x11vnc.
nano X11VNC.desktop
Add the following changes to the file:
[Desktop Entry]
Encoding=UTF-8
Type=Application
Name=X11VNC
Exec=x11vnc -forever -usepw -httpport 5900
StartupNotify=false
Terminal=false
Hidden=false
To close hit Ctrl-X to keep the changes and exit. Next you will want to restart your Pi.
Testing X11VNC
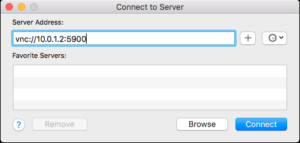
Your configuration might be different than mine however I am running OS X and I can use the built in VNC viewer from Finder. By clicking on the desktop or if you already have a Finder window open you can do a Cmd-K to connect to a VNC Server.
You will want to enter the address of your Pi using the following format:
vnc://<IP Address>:<Port Number>
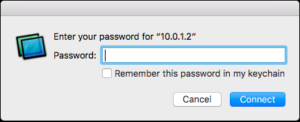
If you need to get the IP address of your Pi you can run ifconfig from a terminal session on it. Once you have entered the Server Address Click on Connect and you should be prompted to enter the password that you supplied.
You should now be connected.
Enjoy and as always Happy Coding!!!
