So this is going to be a quick step by step tutorial on the steps that I took setting up Ubuntu inside of VirtualBox on my Macbook Pro. Before we get started make sure you have VirtualBox Installed.
You can get a copy here.
While you are installing VirtualBox you will want to download a version of Ubuntu that you can use in your configuration. I wanted a graphical desktop so I downloaded Ubuntu Desktop which you can get here.
As just a personal preference I store my ISO images in a folder that is easily accessible from the desktop. Your choice on where you put it just make sure it’s somewhere easy for you to get to.
Setup
With VirtualBox installed and your ISO image for Ubuntu downloaded let’s get started. Go ahead and start VirtualBox.
Create a new Virtual Machine by clicking on the New button.
![]()
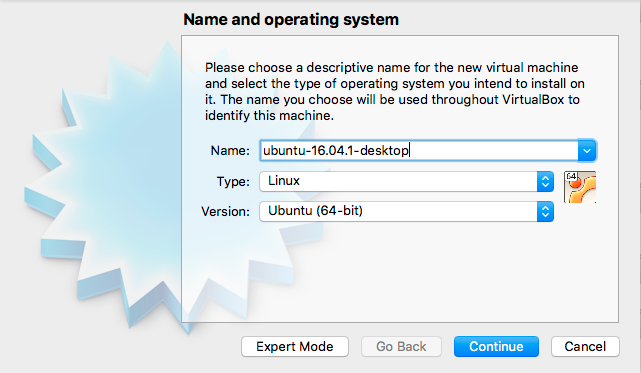
Name Virtual Machine
Next you will want to setup and name your virtual machine. For this example I took the name directly from the name of the ISO image downloaded ubuntu-16.04.1-desktop and use that as the name. Once I set my name the Type (Linux) and Version (Ubuntu (64 bit version)) were automatically updated.
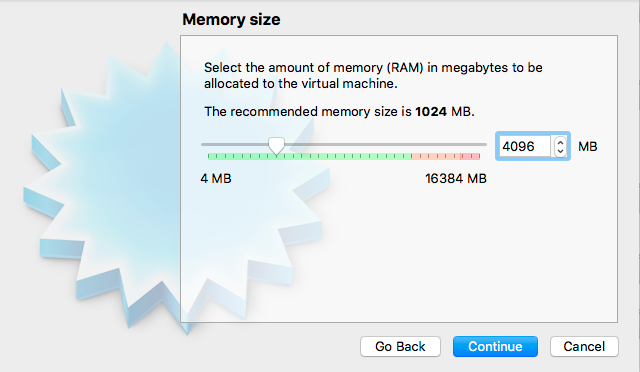
Memory Configuration
Your ability to configure memory for your virtual machine will be limited by your machines physical configurations. I am fortune enough to have a lot of memory installed on my MacBook Pro.
On the Ubuntu configuration page it recommends 2 GB of system memory so to play it safe I doubled that number to 4 GB.
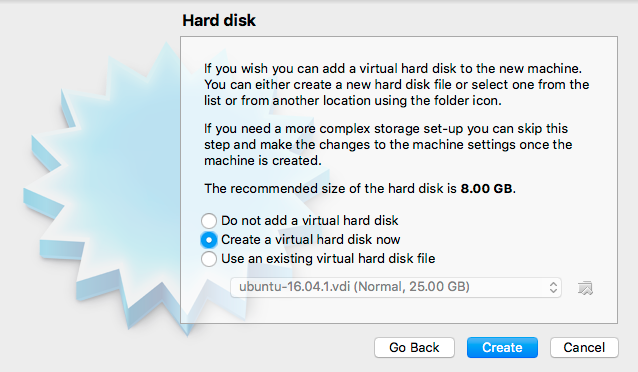
Setting up Disk
I already know that I want to do some development on this image so I made the decision to give it more disk space for future development.
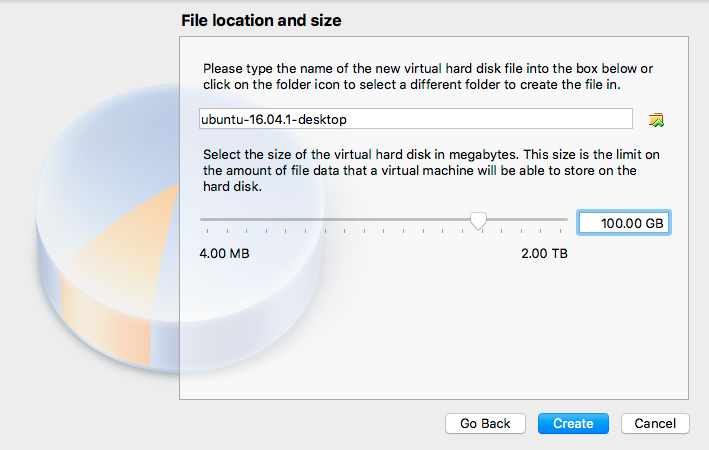
In my configuration I am going to create a 100 GB Fixed size VirtualBox Disk Drive.


Start your Virtual Machine
With the VirtualBox all setup and ready to run it’s now time to get Ubuntu running. Select the image that you just created and the click the Start button.
![]()
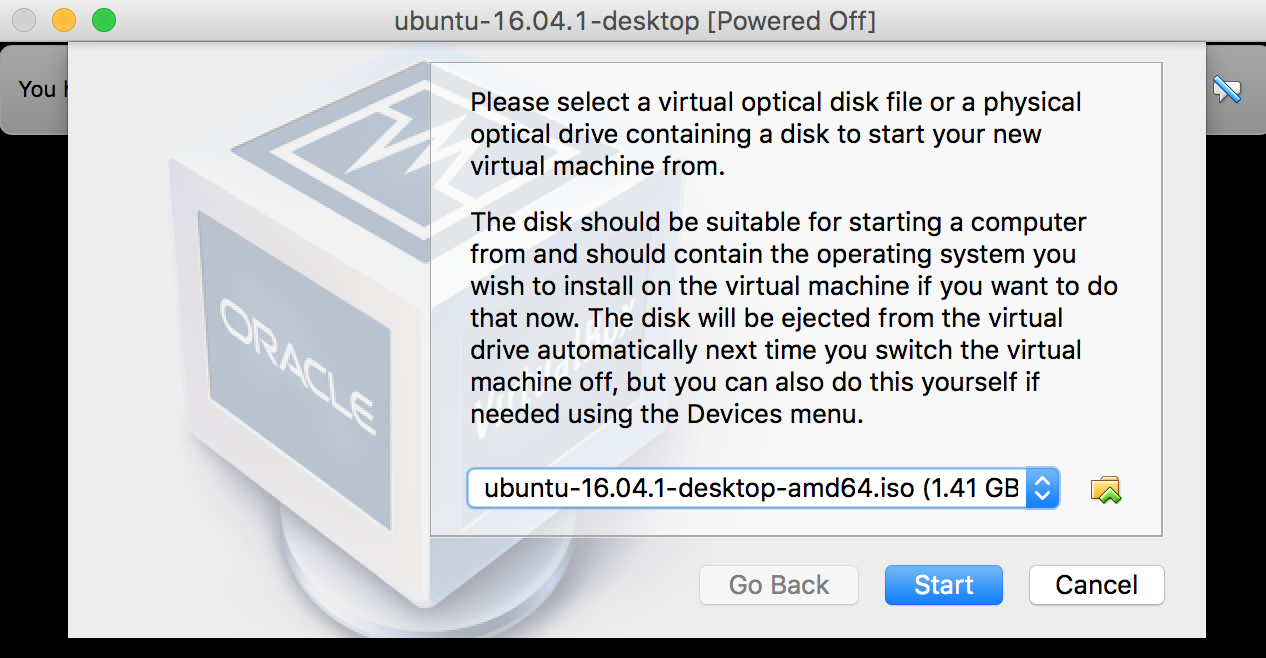
It’s first question will be to prompt you for a optical disk image to use for installing Ubuntu. You will want to browse to wherever you downloaded Ubuntu and select it.
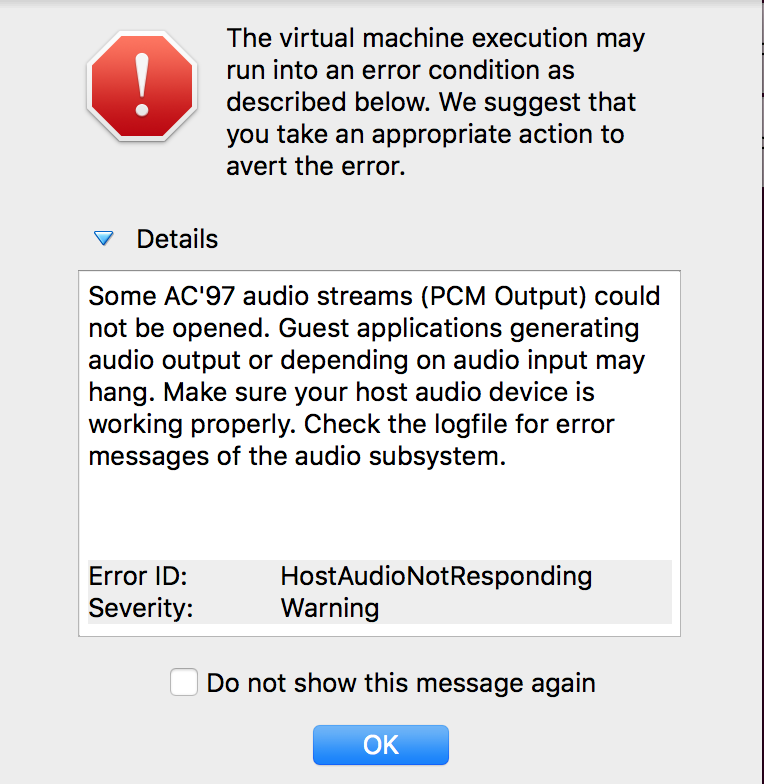
Some message and error prompts that may come up that you can either clear or click the OK button on to get rid of.
![]()
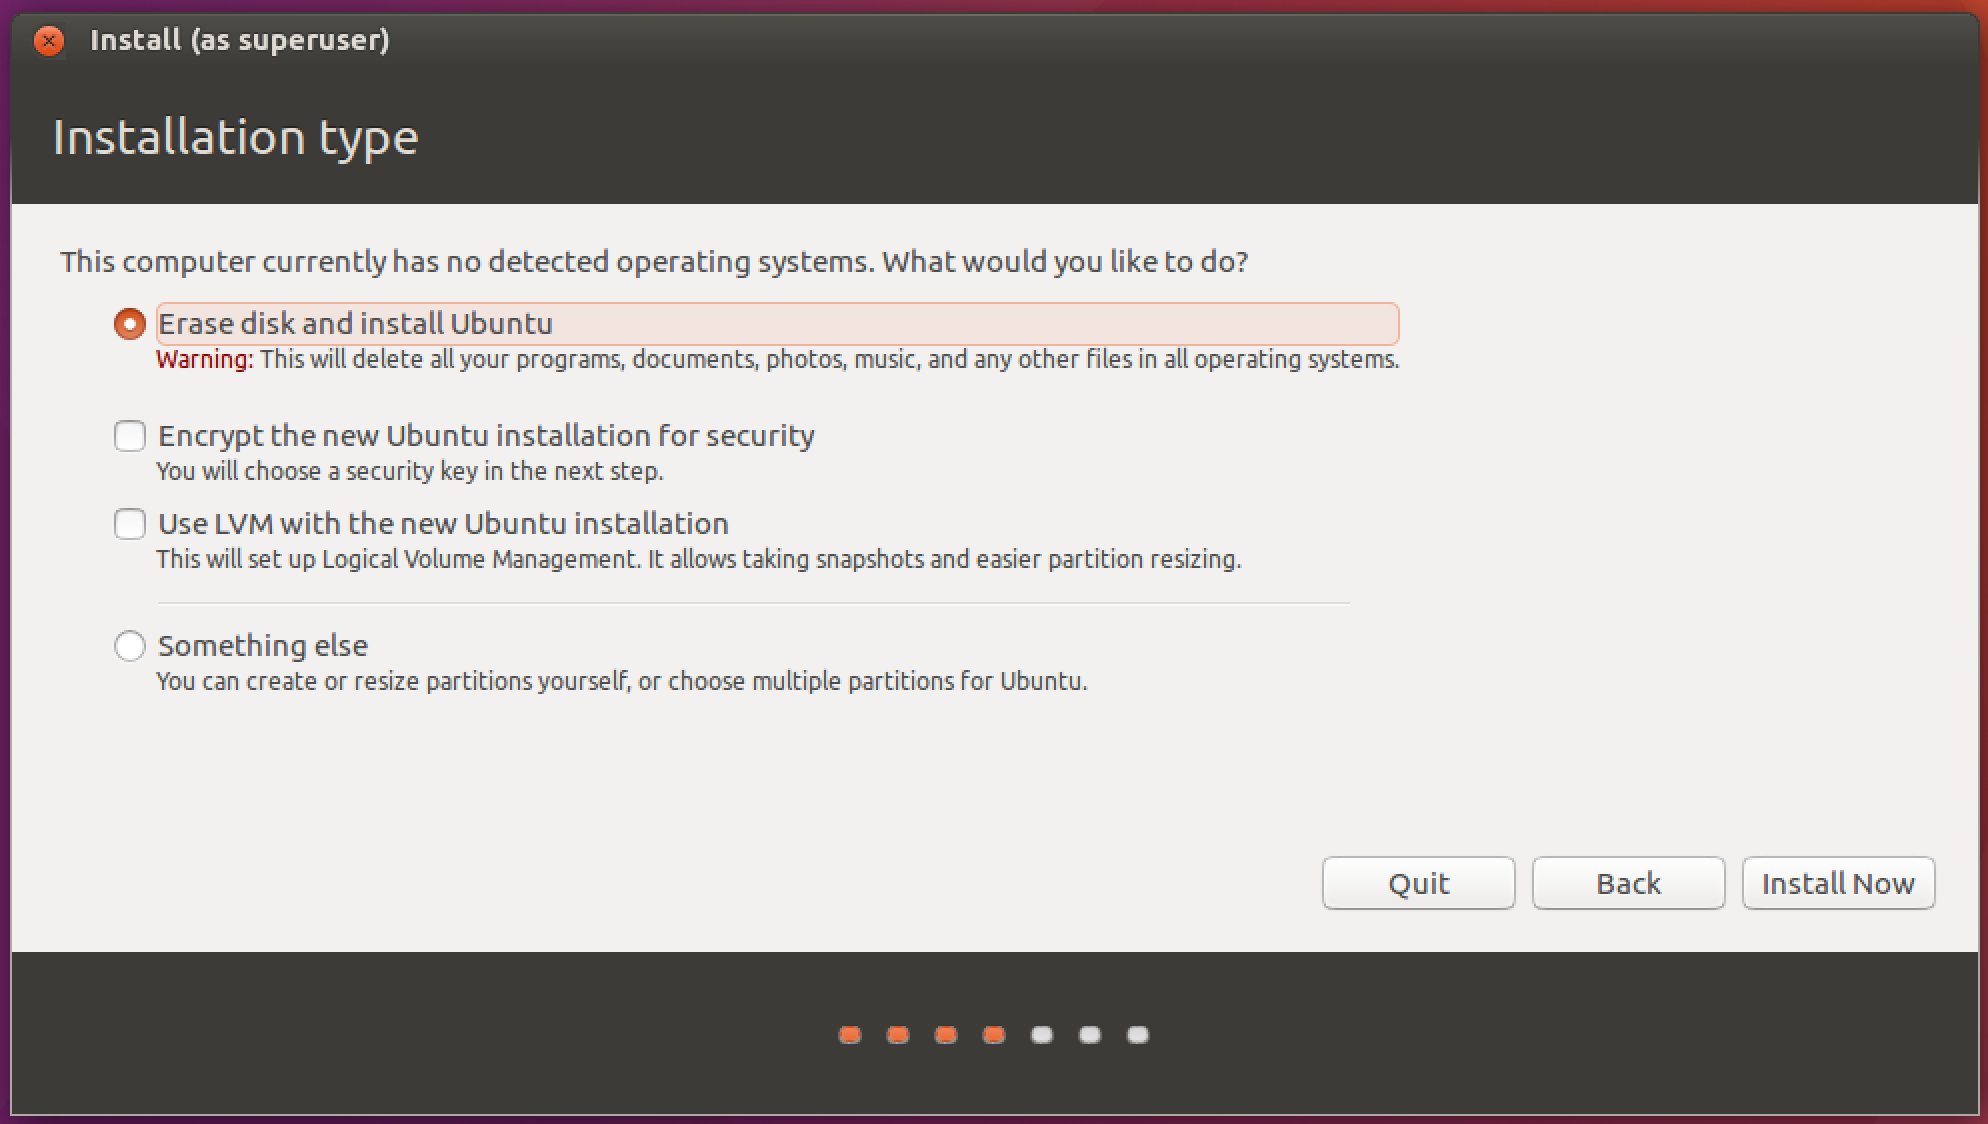
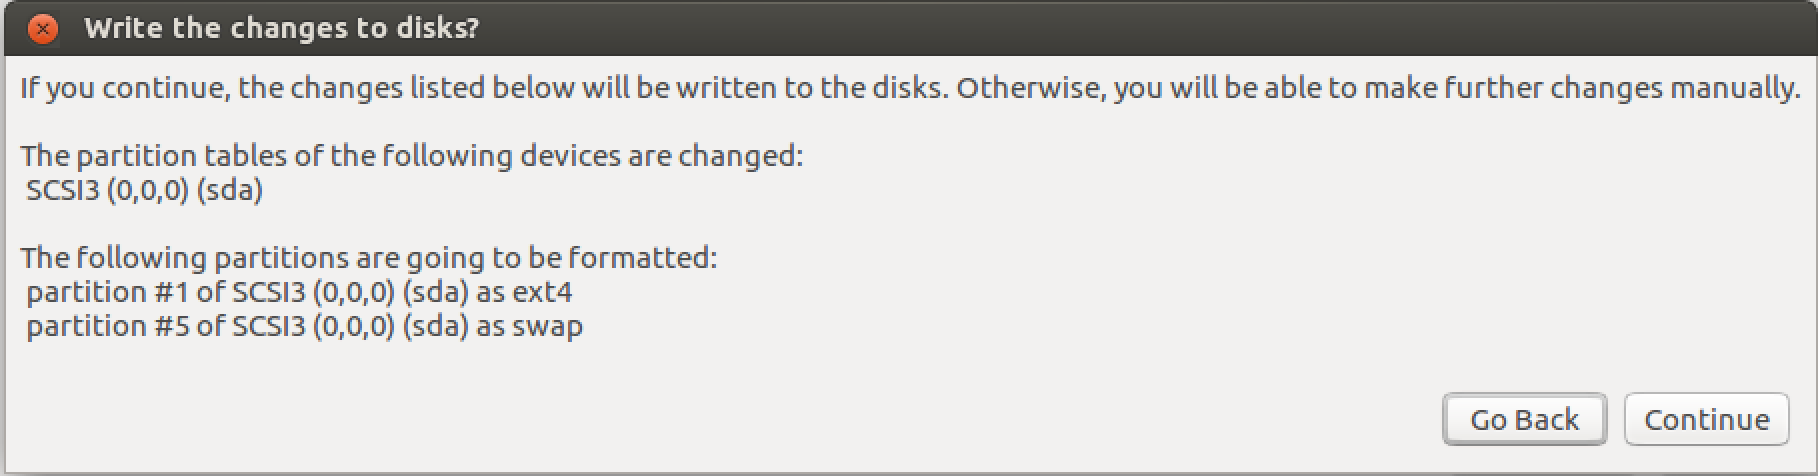
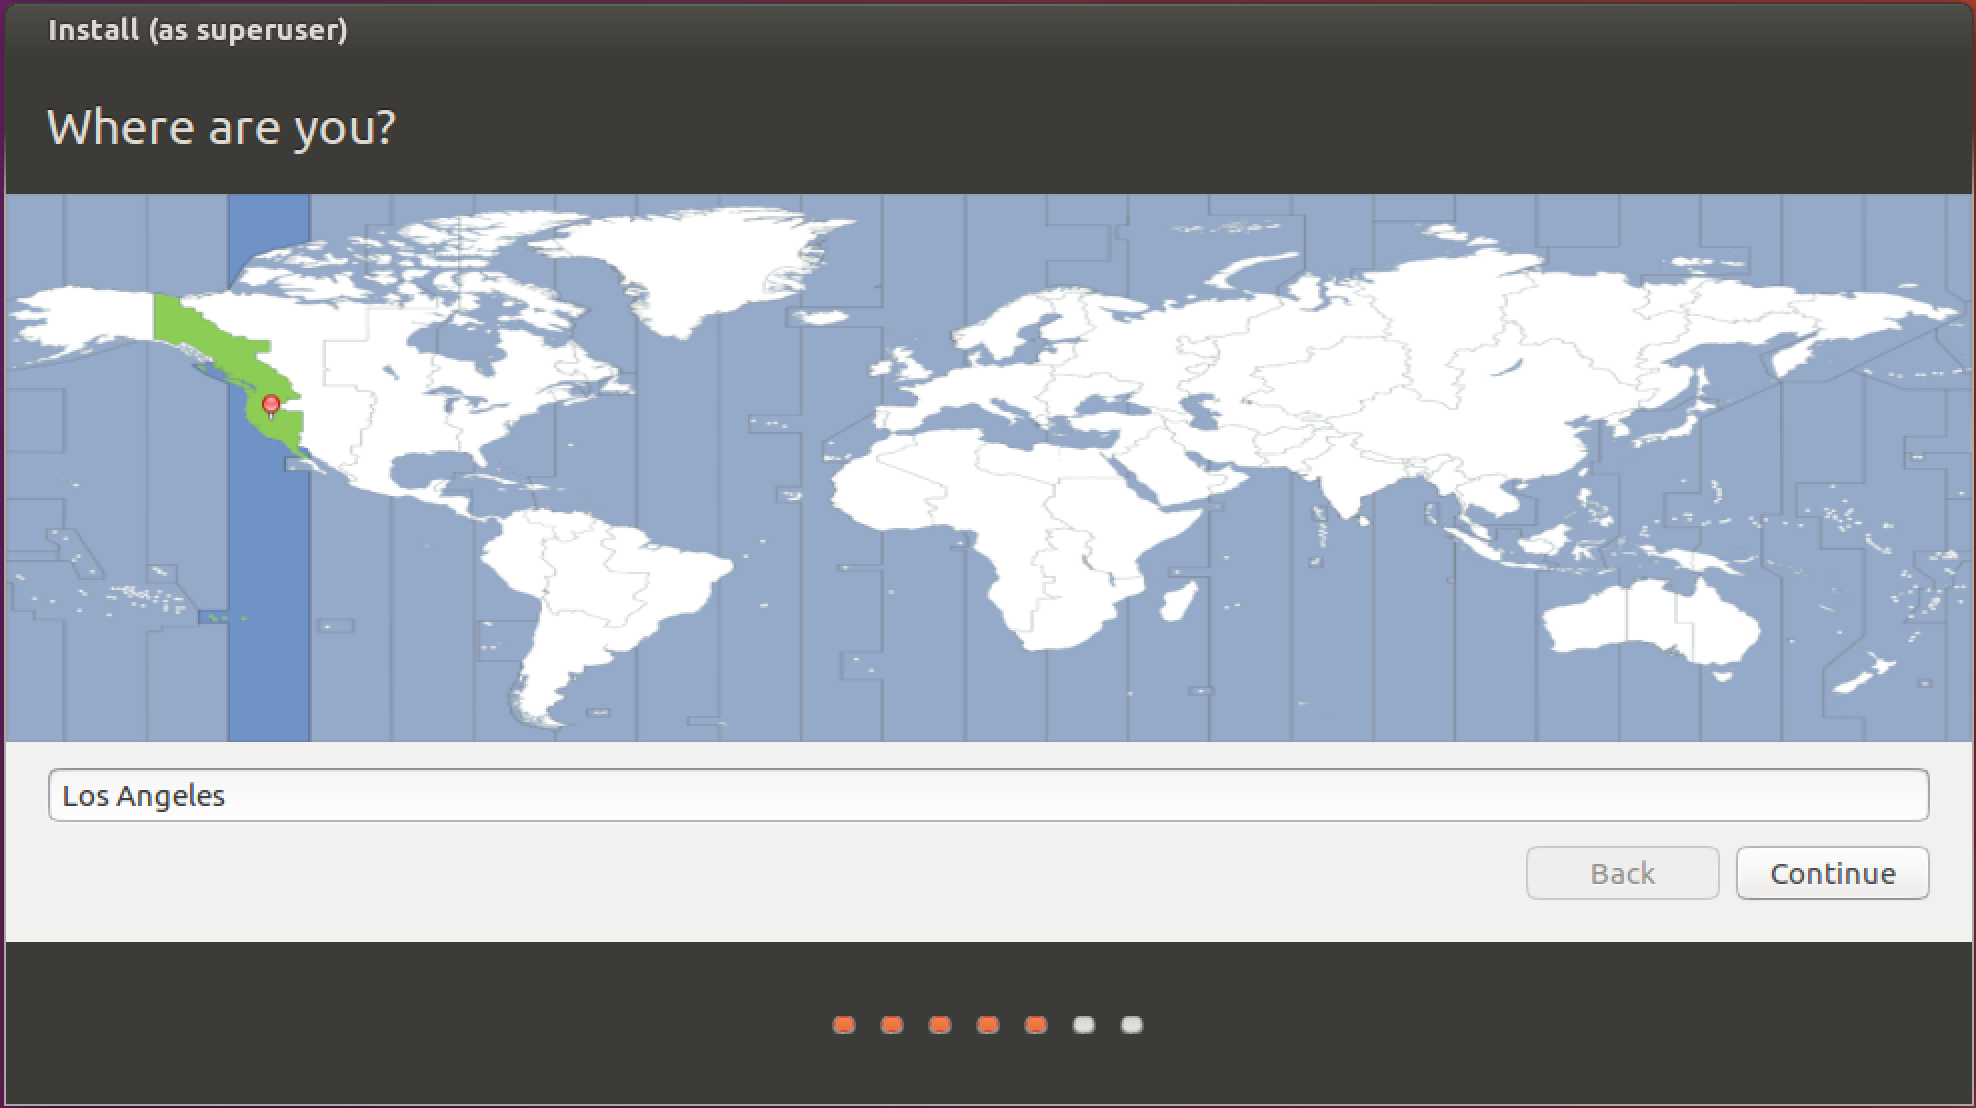
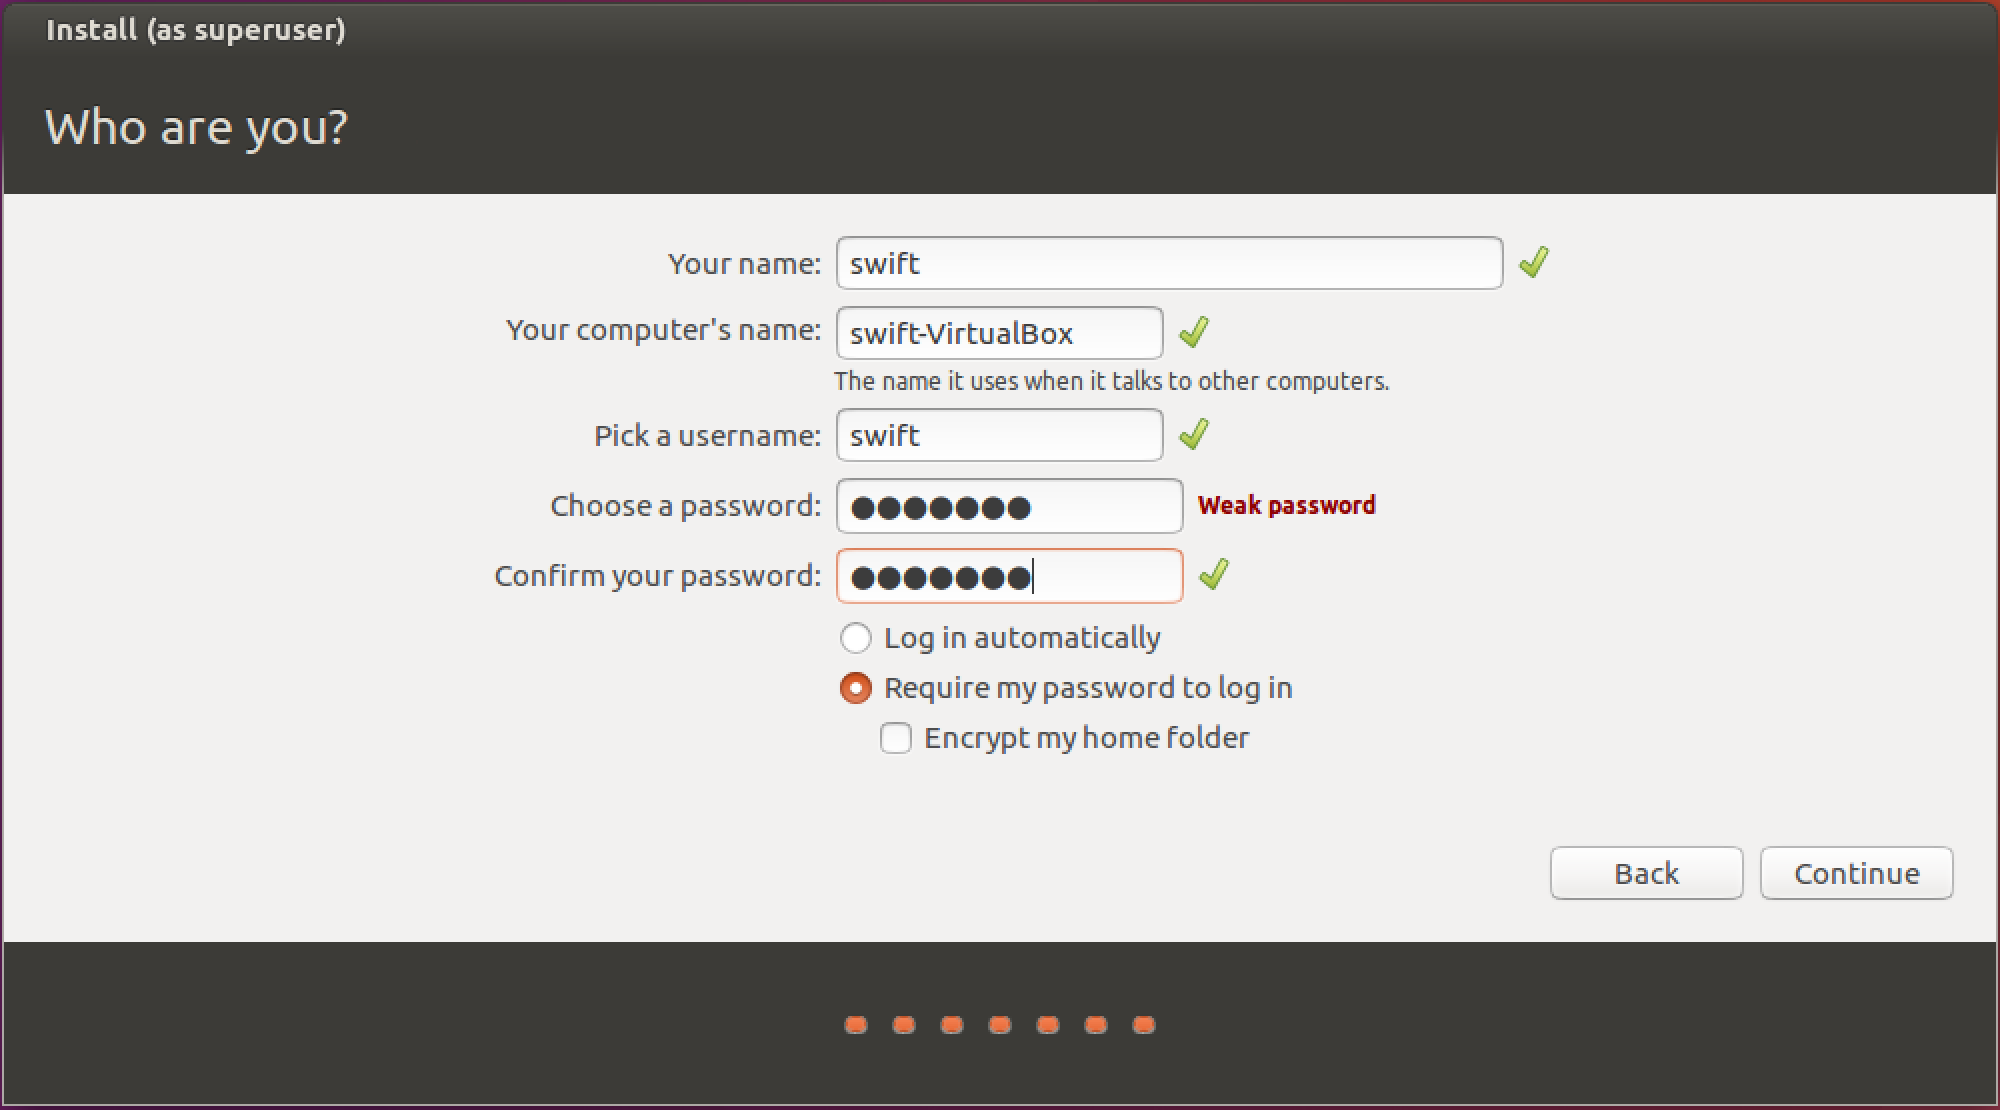
Install Ubuntu
These next few screens are steps that I took for my configuration. Review them during your installation and make any adjustments that are appropriate for your preferences.
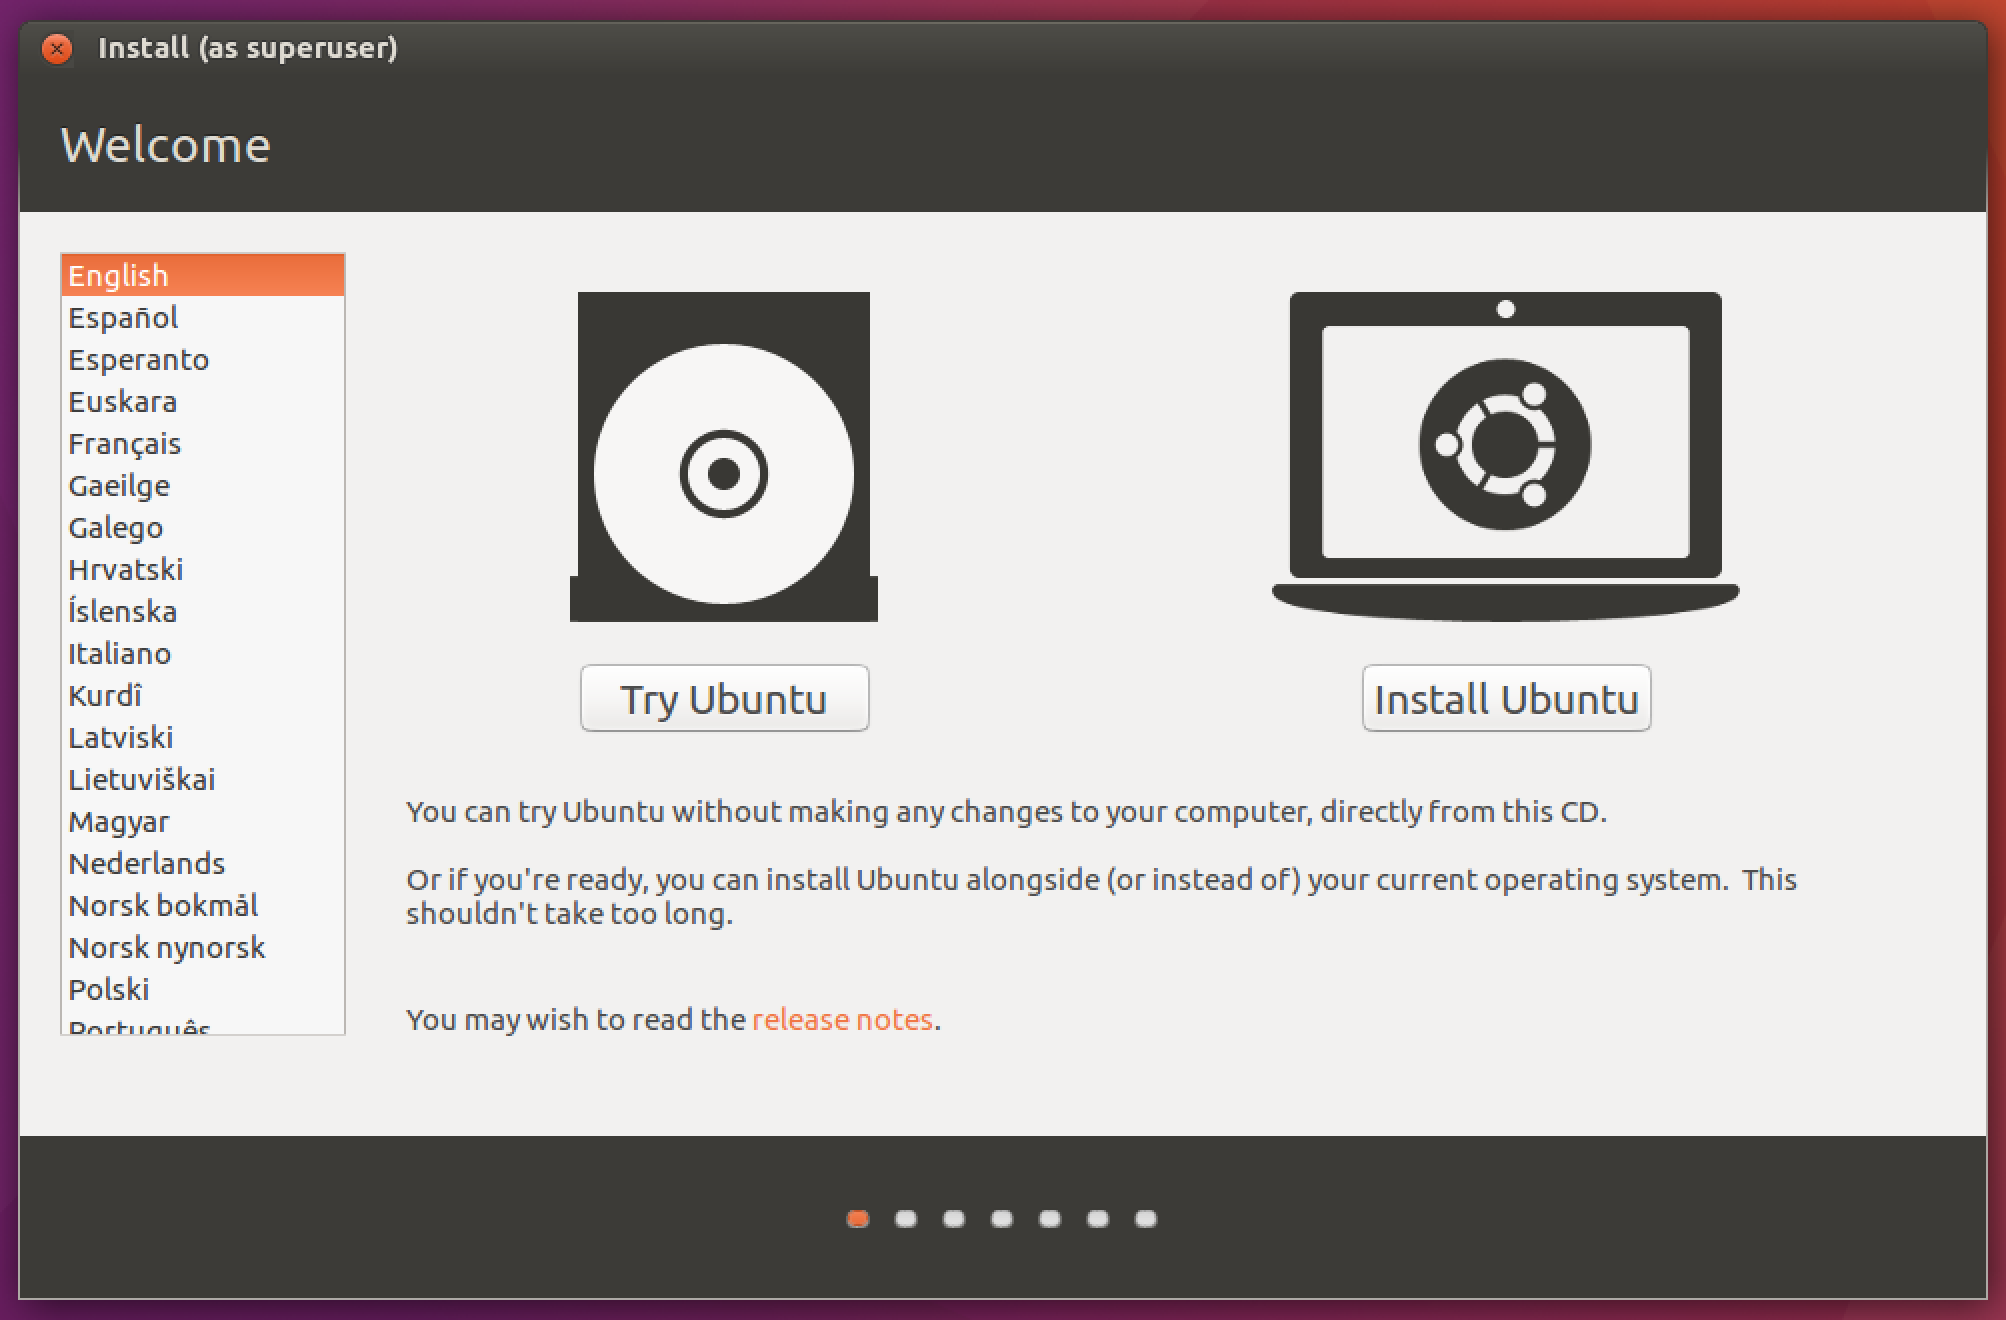
On the first screen you will of course want to click on Install Ubuntu.
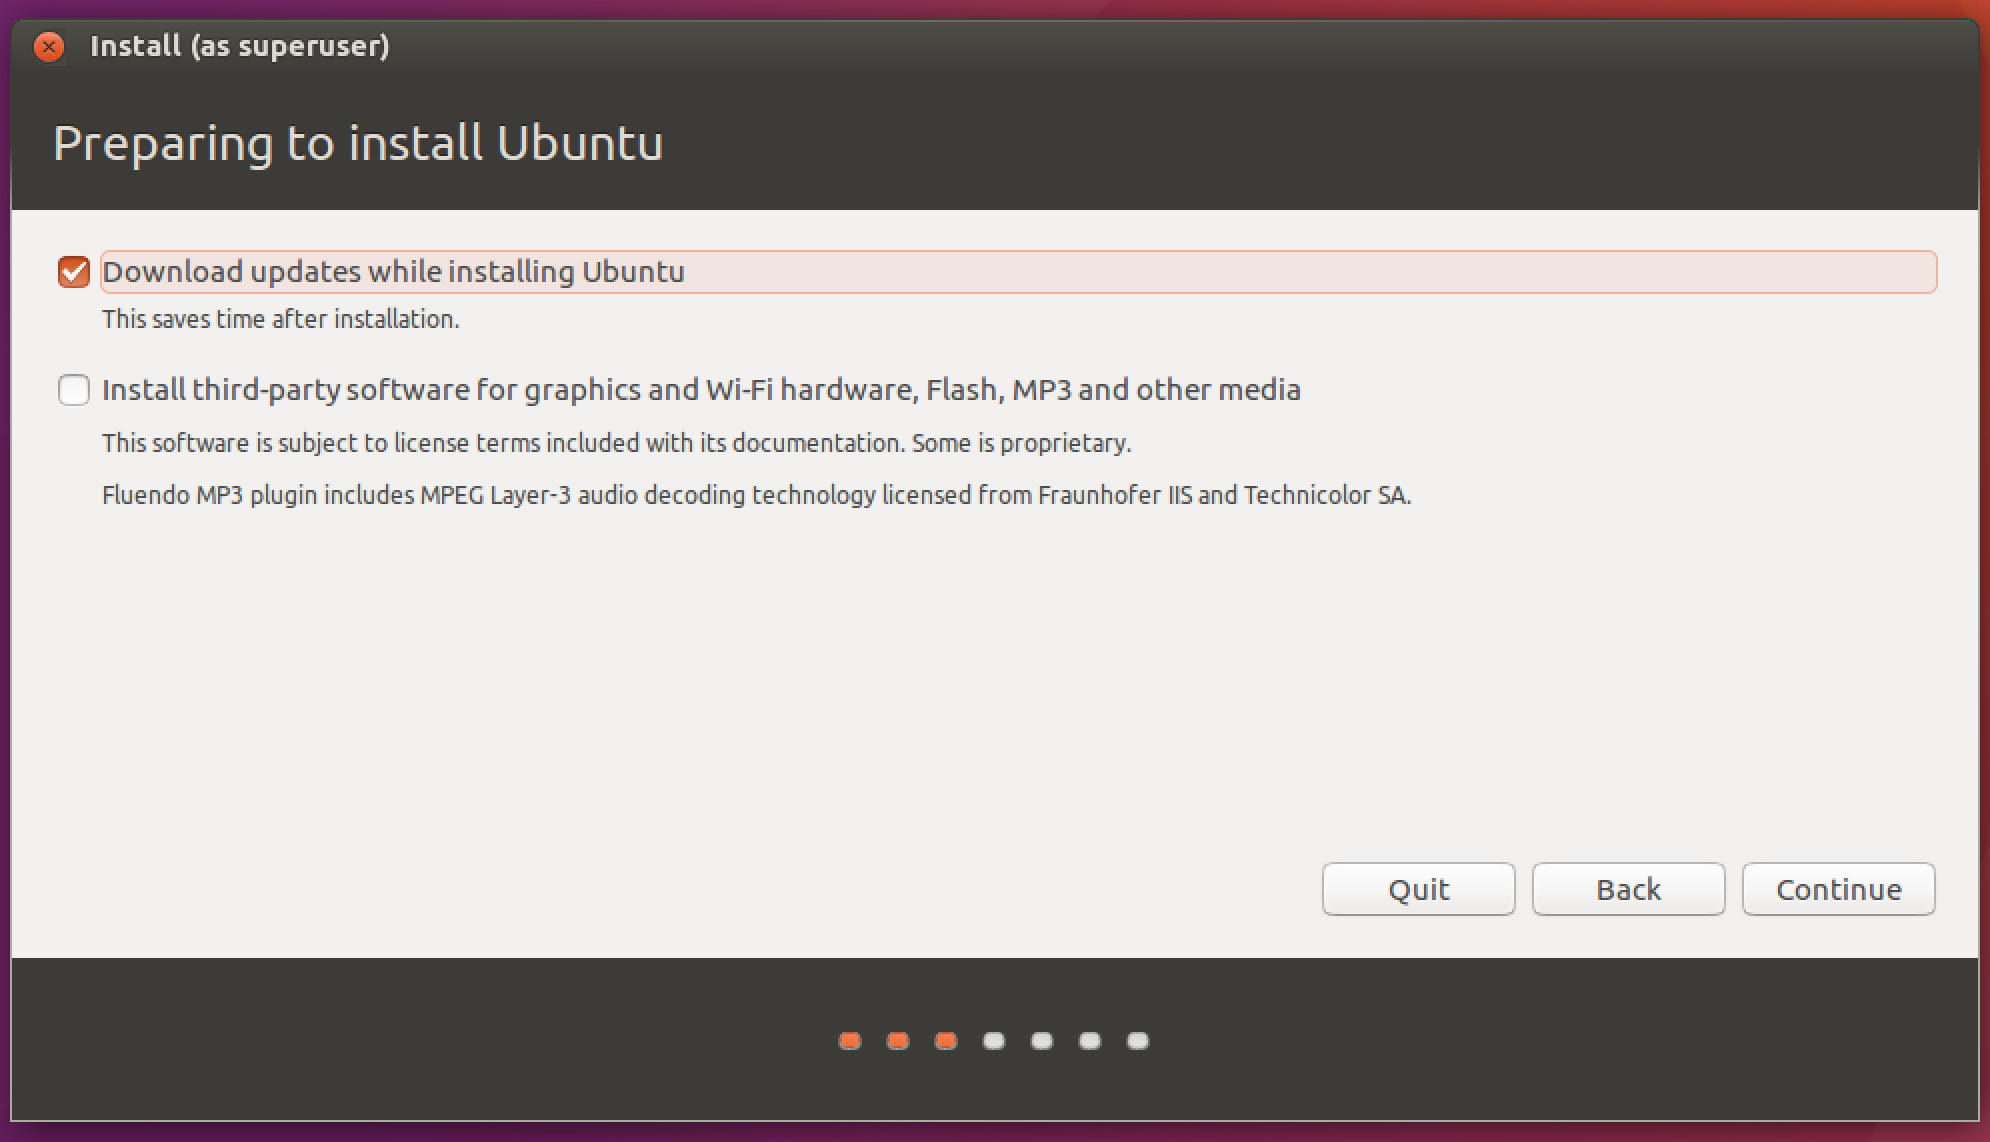
Click Continue

When you are all finished with the installation it will prompt you for restarting your machine. As just a reminder it is referring to the Virtual Machine that was created earlier.
Click the Restart Now button.

When it prompts you to remove the install media just click the Ok button to proceed. All that is left now is to login and enjoy.
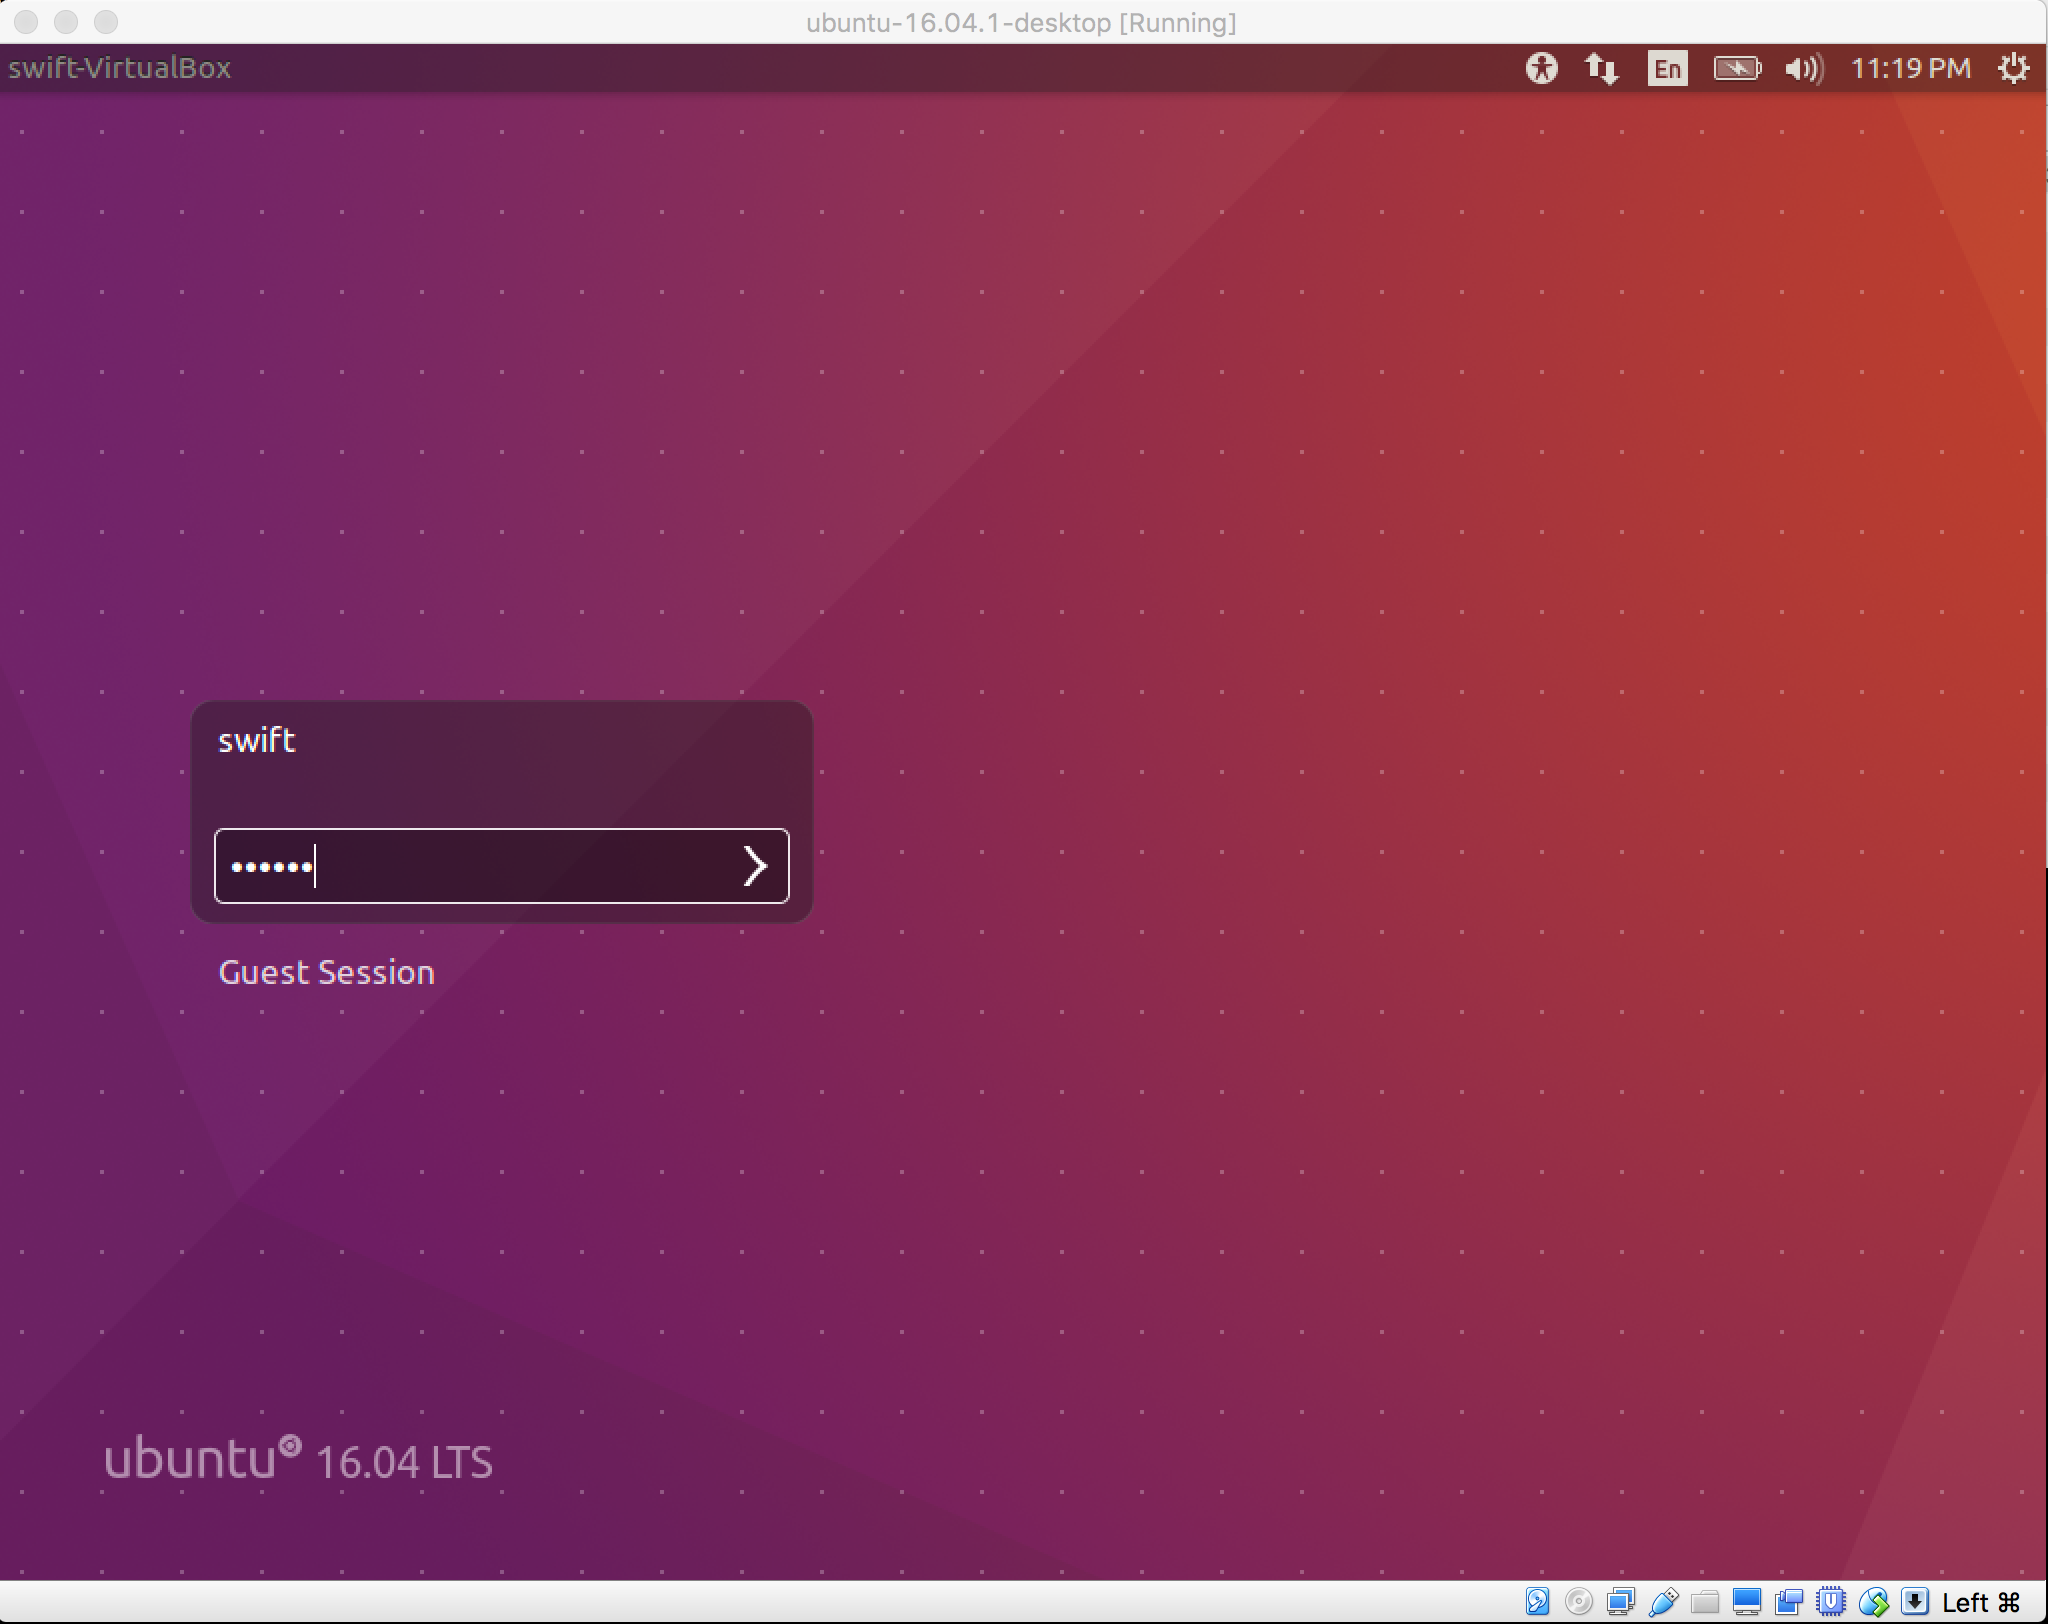
Done
With Ubuntu running we are now ready to start on the next step of installing Swift 3 and getting ready to start using Vapor. That will come in a future post and for now check out Ubuntu and get comfortable with it.

Keep following and as always Happy Coding.