I have been working on an application that will display the current users information along with other information in his/her surrounding area and thought to share my findings regarding MapKit, CoreLocation and iOS 8 in a simple application for others to use.
I used Introduction to MapKit in iOS 6 Tutorial and Getting the user’s location using CoreLocation as a foundation to help get me started. I found however that both articles are missing the information needed to display and get the users current information with iOS 8.
Create the Project
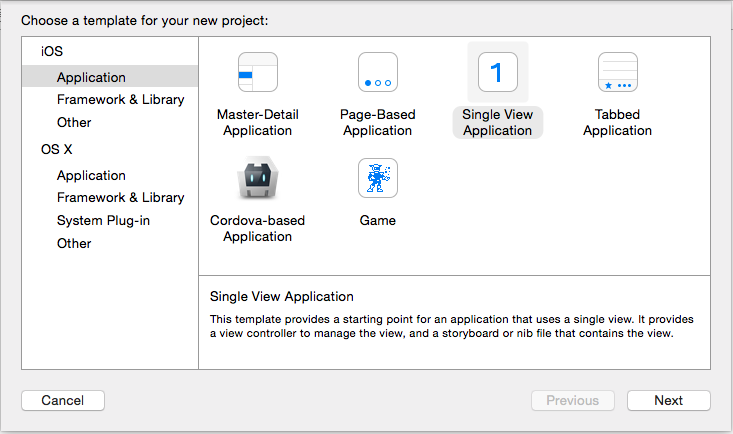
Let’s start off with creating a Single View Application:
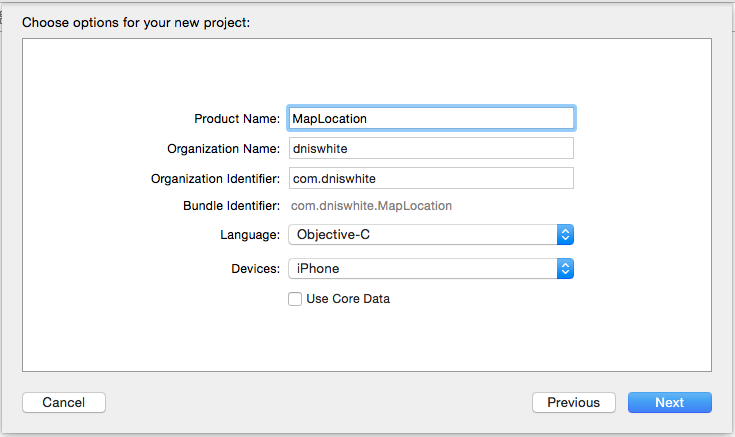
Once the project has been created the next step is to make sure that the MapKit and CoreLocation frameworks are added into the project.

Laying Out the Screen Design
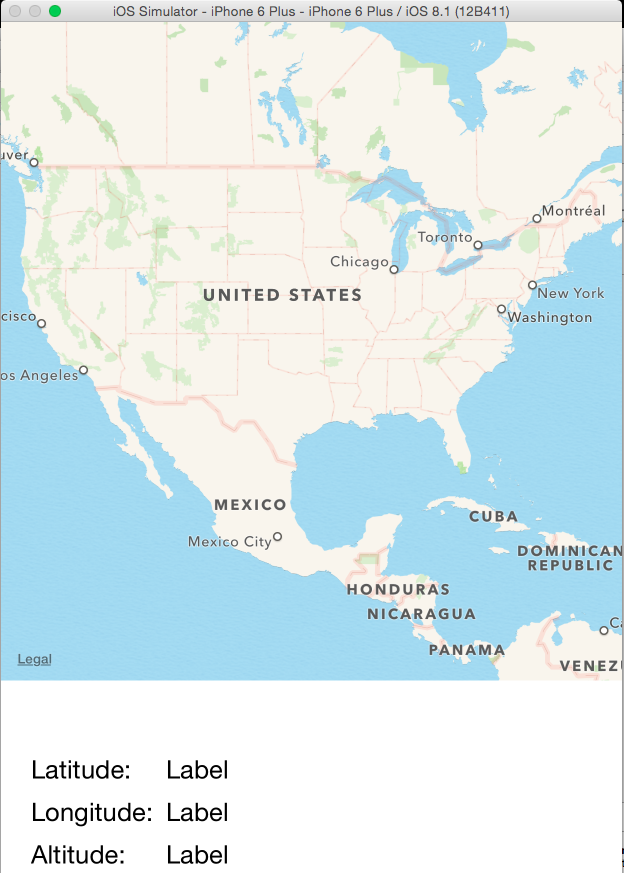
Now that we have the project requirements taken care of let’s move to laying out the screen. By clicking on the Main.storyboard you’ll get the blank View that comes configured with the project. Drag a MKMapView to the top half of the view and then below that add a group of labels that the application will use to display Latitude, Longitude and Altitude.

Time to Make it All Work
If you want you can run the application and what you’ll see is the map displayed and the labels sitting blank. While the achievement gives as much excitement as a “Hello World” application it really is lacking the level of excitement that comes as you interact with the user.
The first step in creating that interaction is to wire the storyboard we just designed into the code for the application. With the storyboard still displayed I am going to change to the Assistant Editor so that both the Storyboard view and the header (ViewController.h) are displayed next to each other.
![]()
In the header file I am going to import CoreLocation.h and MapKit.h.
#import <MapKit/MapKit.h>
#import <CoreLocation/CoreLocation.h>
Before wiring things let’s create create a property for dealing with location information:
@property (nonatomic, strong) CLLocationManager *locationManager;
Now lets proceed by control dragging the Labels and MKMapView that our code will have to interact with into the header file.
#import <UIKit/UIKit.h>
#import <MapKit/MapKit.h>
#import <CoreLocation/CoreLocation.h>

@interface ViewController : UIViewController

@property (nonatomic, strong) CLLocationManager *locationManager;
@property (weak, nonatomic) IBOutlet MKMapView *mapView;
@property (weak, nonatomic) IBOutlet UILabel *labelLatitude;
@property (weak, nonatomic) IBOutlet UILabel *labelLongitude;
@property (weak, nonatomic) IBOutlet UILabel *labelAltitude;

@end
As we now move on to the implementation of ViewController.m we are left with making sure that the locationManager is started and that our mapView knows to display the current location of where our user is located.
At the top of ViewController.m add some helper definitions that we’ll use in converting metrics to feet and miles.
#define METERS_MILE 1609.344
#define METERS_FEET 3.28084
In the interface section lets make sure to add the CLLocationManagerDelegate as a delegate that the ViewController will implement part of.
@interface ViewController ()
<CLLocationManagerDelegate>

@end
Then in the viewDidLoad method we are going to add the code to start the location manager and have the mapView display the users current location.
- (void)viewDidLoad {
    [super viewDidLoad];

    [[self mapView] setShowsUserLocation:YES];

    self.locationManager = [[CLLocationManager alloc] init];

    [[self locationManager] setDelegate:self];
    [[self locationManager] setDesiredAccuracy:kCLLocationAccuracyBest];
    [[self locationManager] startUpdatingLocation];
}
Finally make sure to wire up part of the CLLocationManagerDelegate so that we can begin receiving location information from the users current location.
-(void) locationManager:(CLLocationManager *)manager didUpdateLocations:(NSArray *)locations {
    CLLocation *location = locations.lastObject;
    [[self labelLatitude] setText:[NSString stringWithFormat:@"%.6f", location.coordinate.latitude]];
    [[self labelLongitude] setText:[NSString stringWithFormat:@"%.6f", location.coordinate.longitude]];
    [[self labelAltitude] setText:[NSString stringWithFormat:@"%.2f feet", location.altitude*METERS_FEET]];
}
With that all complete go ahead and run the application.
What gives?? The pulsating blue dot and location information at the bottom are missing plus we were never prompted by iOS to give the application the permission to use our current location. With some further inspection you should also see some exception information about not being able to start the location manager.
In iOS 8 there is now an added step that applications must take in being authorized to receive location information. Depending on the location services that your application needs to use there are the following requests:
In the notes for requestAlwaysAuthorization you will see that Apple has identified privacy concerns and warns about its use. For this application we only need to use requestWhenInUseAuthorization so I will leave the other as further reading to those interested.
Changes for iOS 8
Change the the viewDidLoad method so that we are now requesting authorization as required with iOS 8.
NOTE – While iOS 8 is enjoying a fairly large installation rate I am still going to make sure that the code works with iOS 7. To do this I am going to query the locationManager to see if it supports this new method.
- (void)viewDidLoad {
    [super viewDidLoad];

    [[self mapView] setShowsUserLocation:YES];

    self.locationManager = [[CLLocationManager alloc] init];

    [[self locationManager] setDelegate:self];

    // we have to setup the location maanager with permission in later iOS versions
    if ([[self locationManager] respondsToSelector:@selector(requestWhenInUseAuthorization)]) {
        [[self locationManager] requestWhenInUseAuthorization];
    }

    [[self locationManager] setDesiredAccuracy:kCLLocationAccuracyBest];
    [[self locationManager] startUpdatingLocation];
}
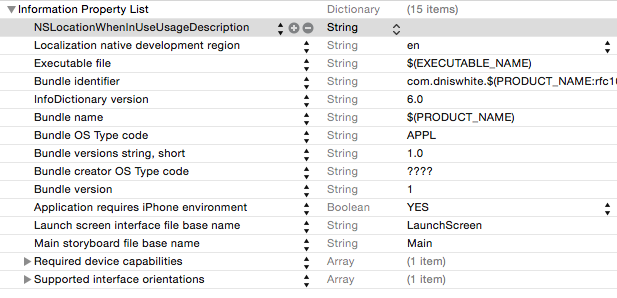
Now all that remains is to add NSLocationWhenInUseUsageDescription into Info.plist.
Run the app now.
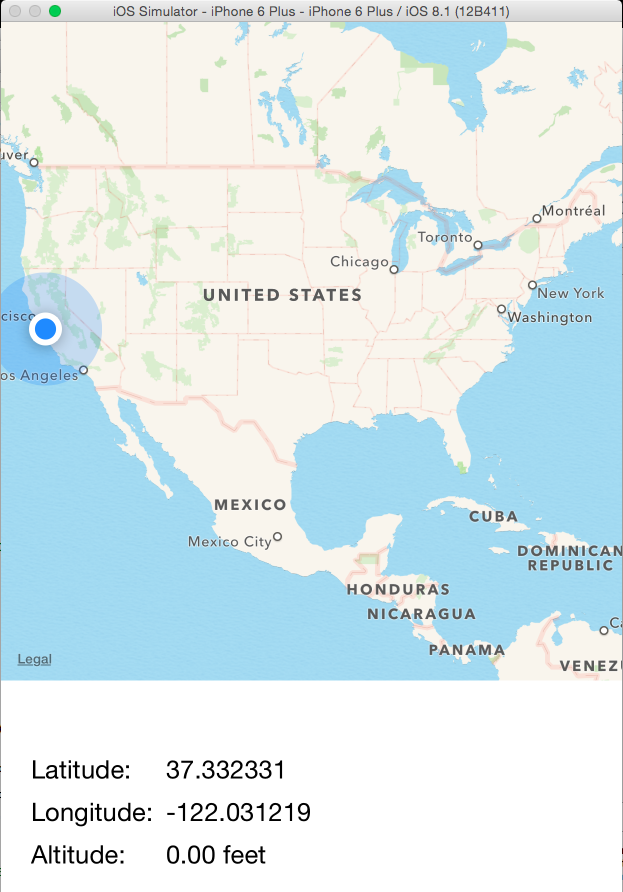
There is that pulsating blue dot and now our application is showing us where the users current location is. The zoomed out view might be a bit extreme and in my opinion isn’t going to be very useful for most users.
Focus and Zoom the Map
As soon as we get the users location information lets zoom the map more into the location for where the user located.
-(void) locationManager:(CLLocationManager *)manager didUpdateLocations:(NSArray *)locations {
    CLLocation *location = locations.lastObject;
    [[self labelLatitude] setText:[NSString stringWithFormat:@"%.6f", location.coordinate.latitude]];
    [[self labelLongitude] setText:[NSString stringWithFormat:@"%.6f", location.coordinate.longitude]];
    [[self labelAltitude] setText:[NSString stringWithFormat:@"%.2f feet", location.altitude*METERS_FEET]];

    // zoom the map into the users current location
    MKCoordinateRegion viewRegion = MKCoordinateRegionMakeWithDistance(location.coordinate, 2*METERS_MILE, 2*METERS_MILE);
    [[self mapView] setRegion:viewRegion animated:YES];
}
Run the app now.

There you have it!!! For now you can find the source here and as always Happy Coding.