I recall reading somewhere about a growing number in the amount of code we write to handle user mistakes. Application users make mistakes and while it sometimes may seem intentional as an attempt to frustrate it is the requirement of developers to protect from them.
We have all heard and joked about this as developers.

Sometimes I think the proper answer we all need to approach this problem with is looking in the mirror and wondering why we weren’t smart enough to prevent that mistake?
In the following example I am documenting a scenario of validating a users input using some of the new Error Handling features with Swift 2 that will help organize and keep the code cleaner and easier to understand.
While the example is simple hopefully it will give you something to build on for whatever you are working on.
Create Project
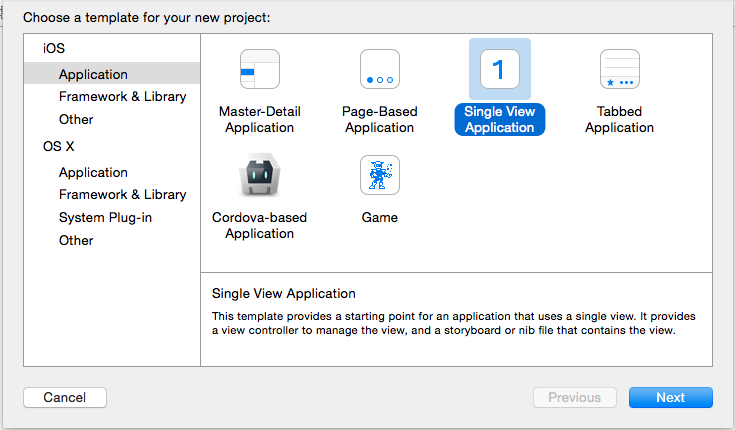
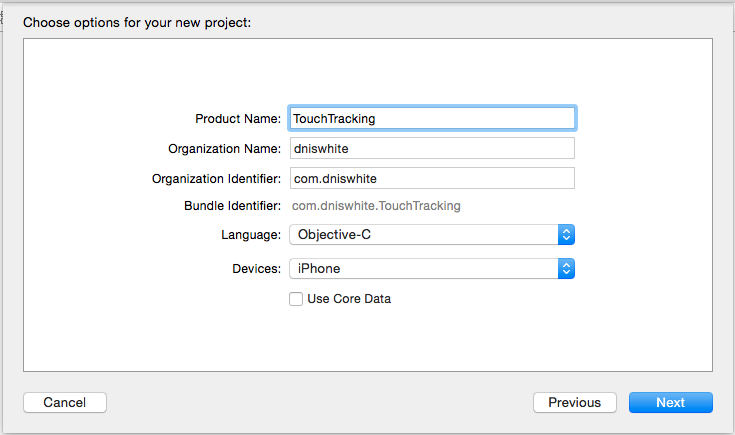
Start off with creating a Single View Application:


Layout Screen
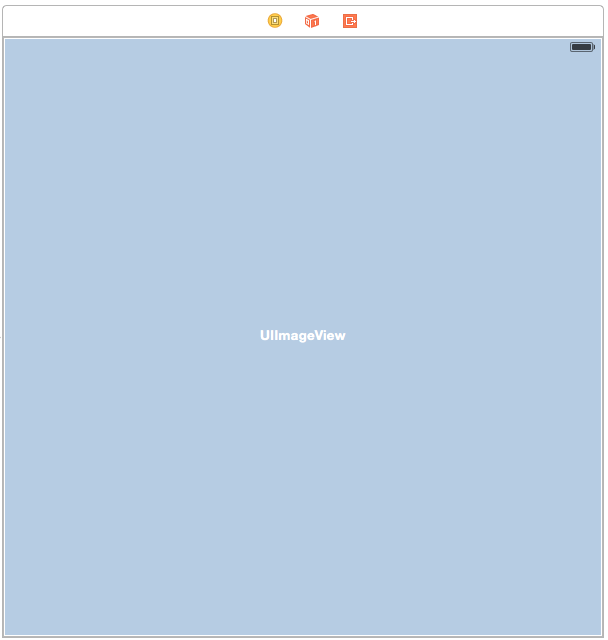
With the project setup complete click on the projects storyboard (Main.storyboard) and add a Label for the Title, four TextFields that will take input from the user, an error label and finally a button that the user would use to submit their input.
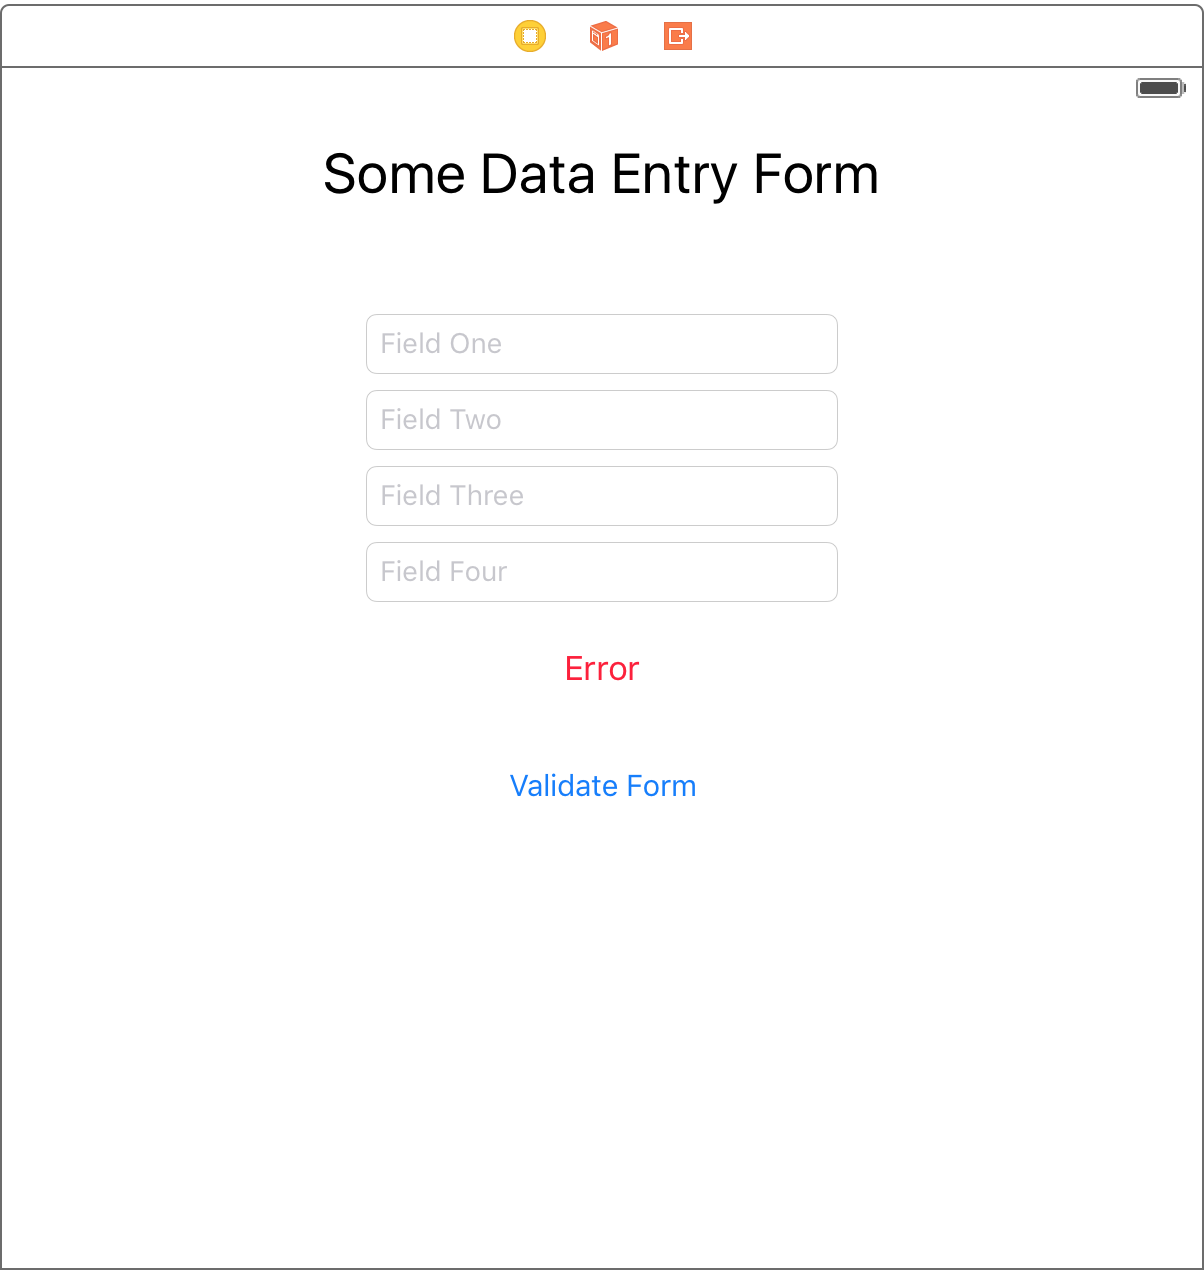
Once you have added those fields and the constraints go ahead and give it a test run in the simulator.

The only change that remains with the storyboard is to remove the text on the error label that was added. With the storyboard editor still open click on the Assistant Editor so that both the storyboard and ViewController.swift are displayed.
![]()
Then control drag and create properties for the TextFields and error Label.
    @IBOutlet weak var fieldOneText: UITextField!
    @IBOutlet weak var fieldTwoText: UITextField!
    @IBOutlet weak var fieldThreeText: UITextField!
    @IBOutlet weak var fieldFourText: UITextField!

    @IBOutlet weak var errorLabel: UILabel!
You will also want to control drag and create a function for when the user clicks on the button for submitting their entry.
    @IBAction func validateFormPressed(sender: AnyObject) {
    }
After that is done you can close the Assistant Editor and you will now begin to work on the code for validating the users input.
Validation Model
Next you will want to add a new file to implement the model that will be used for validating user input.

The first that will be added are String properties for validating the different entries as well as init method for the construction of the object.
class FormValidationModel {
    var fieldOneText: String?
    var fieldTwoText: String?
    var fieldThreeText: String?
    var fieldFourText: String?

    init (fieldOne: String, fieldTwo: String, fieldThree: String, fieldFour: String) {
        self.fieldOneText = fieldOne
        self.fieldTwoText = fieldTwo
        self.fieldThreeText = fieldThree
        self.fieldFourText = fieldFour
    }
}
Validate Rules
For this example I am going to use some rules for validating user input. The follow are the rules that I am going to be validating against:
- All of the TextFields have to have something entered in them (no blanks)
- Field one – Has at least one character.
- Field two – Has at least two characters.
- Field three – Has at least three characters.
- Field four – Has at least four characters.
I probably could have applied some regular expression filters but for this article I felt it was best to give the basic idea and let you take it further.
    func hasEmptyFields () -> Bool {
        var result: Bool = false

        if (!fieldOneText!.isEmpty && !fieldTwoText!.isEmpty && !fieldThreeText!.isEmpty && !fieldFourText!.isEmpty) {
            result = true
        }

        return result
    }

    func validationFieldOne() -> Bool {
        if fieldOneText?.characters.count >= 1 {
            return true
        }

        return false
    }

    func validationFieldTwo() -> Bool {
        if fieldTwoText?.characters.count >= 2 {
            return true
        }

        return false
    }

    func validationFieldThree() -> Bool {
        if fieldThreeText?.characters.count >= 3 {
            return true
        }

        return false
    }

    func validationFieldFour() -> Bool {
        if fieldFourText?.characters.count >= 4 {
            return true
        }

        return false
    }
I could have the ViewController call each of those functions and report back an error but that kind of defeats the purpose of the model. Instead the next step is to bundle them all up into a function that will validate the users input and let us know if there are any errors.
    func validateForm() throws -> Bool  {
        return true
    }
When this method is called it will validate the entries and if all is good it will then return true. The problem now however; is how will the ViewController know where the problem is if false is returned?
To handle that lets create an exception to report an error and it will have an error message included that could be displayed to the user.
Create an Exception
Next you will want to again add a new file to implement the exception.
For error handling in Swift you will want to create an enum that will inherit from the ErrorType protocol. What I am going to cover in this example is very basic error handling and you can find more information here.
Our requirements were simple so lets just create an exception that will represent our different requirements.
enum FormValidationErrors: ErrorType {
    case emptyField
    case FieldOne
    case FieldTwo
    case FieldThree
    case FieldFour
}
Next we’ll create a set of error messages that can be displayed to the user. For this example I am going to modify the enum so that it also implements the CustomStringConvertible protocol which will also allow us to print the exception to an output console using print().
enum FormValidationErrors: ErrorType, CustomStringConvertible {
    case emptyField
    case FieldOne
    case FieldTwo
    case FieldThree
    case FieldFour

    var description: String {
        switch self {
        case .emptyField: return "Empty fields encountered. \n Please complete all of the fields."
        case .FieldOne: return "Field one could not be validated. \n Please enter more than one character."
        case .FieldTwo: return "Field two could not be validated. \n Please enter more than two characters."
        case .FieldThree: return "Field three could not be validated. \n Please enter more than three characters."
        case .FieldFour: return "Field four could not be validated. \n Please enter more than four characters."
        }
    }
}
Form Validation
Next we are going to edit the validateForm() function again and include the checks against the different validation functions that were implemented. In the past you might have implemented the checks with a group of if and else if statements. With the latest in Swift there is now the guard statement which has several features one of which is its ability make the code more readable and maintainable.
In this example I am using the guard statement for improving readability of the code; for more information go you can review the documentation on Apple’s site here.
The basic format of a guard statement is:
    guard control-statement else {
        throw exception
    }
For now whenever the guards control-statement returns false we will throw an exception in the else statement.
    func validateForm() throws -> Bool  {
        guard hasEmptyFields() else {
            throw FormValidationErrors.emptyField
        }

        guard validationFieldOne() else {
            throw FormValidationErrors.FieldOne
        }

        guard validationFieldTwo() else {
            throw FormValidationErrors.FieldTwo
        }

        guard validationFieldThree() else {
            throw FormValidationErrors.FieldThree
        }

        guard validationFieldFour() else {
            throw FormValidationErrors.FieldFour
        }

        return true
    }
With the exception and model code complete all that remains is implementing the ViewController.swift so that when the function for handling the submit button is pressed it uses it all. Before I do that let me cover the basics of exception handling.
    do {
        try code-statement-with-exception()
        code statements that run if no exception
    } catch let error as CustomErrorType {
        print("handle custom exception ErrorType")
    } catch {
        print("general exception message")
    }
You can now make the changes to the ViewController.swift to use the new exception that was developed. You will want to make the following changes to the validateFormPressed() function.
    @IBAction func validateFormPressed(sender: AnyObject) {
        let validator = FormValidationModel(fieldOne: fieldOneText.text!, fieldTwo: fieldTwoText.text!, fieldThree: fieldThreeText.text!, fieldFour: fieldFourText.text!)

        do {
            errorLabel.text = ""
            try validator.validateForm()
        } catch let error as FormValidationErrors {
            print(error)
            errorLabel.text = error.description
        } catch {
            errorLabel.text = "There was an error validating your form entry.\n Please try again."
        }
    }
For now you can the complete source here and as always Happy Coding!!!